When it comes to web design and web development, there is often a need to dynamically hide or show various elements on a page. In this article, we will look at a simple and effective way to hide columns, and, most importantly, how to integrate this into Elementor.
Step 1: Adding the code.
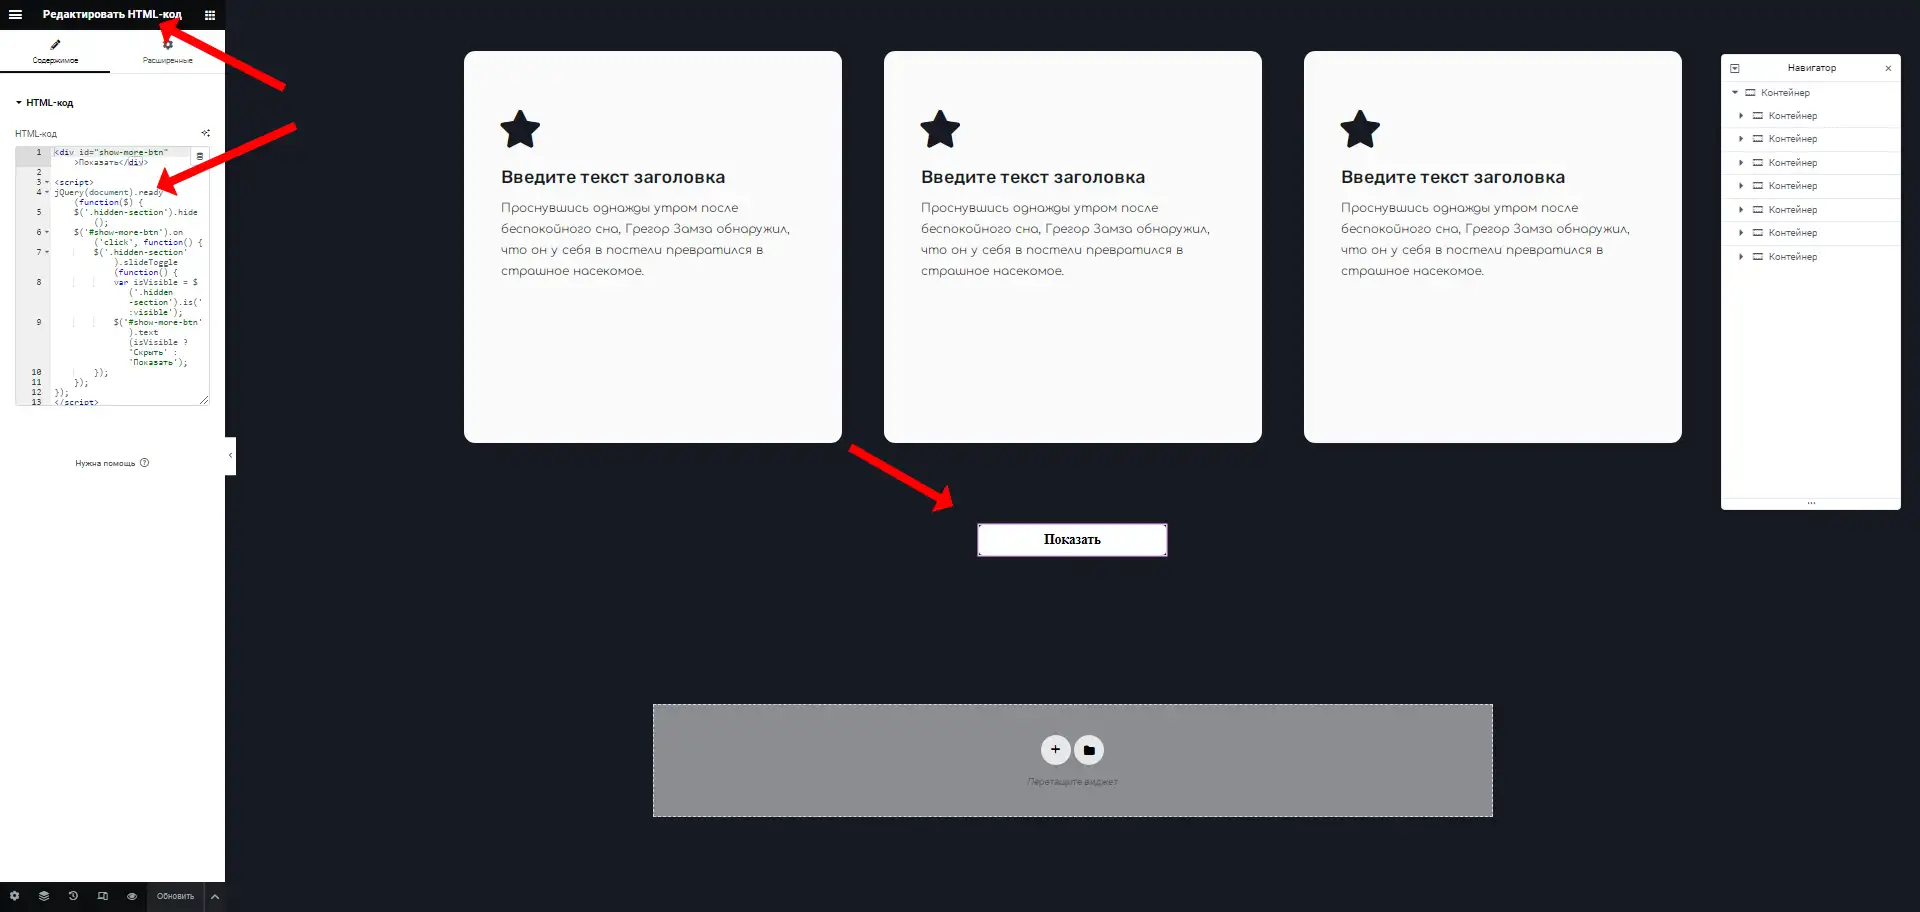
First, you need to add the code you were provided into the "HTML code" section at the bottom of your Elementor element or widget.
					<div id="show-more-btn">show</div>

<script>
jQuery(document).ready(function($) {
    $('.hidden-section').hide();
    $('#show-more-btn').on('click', function() {
        $('.hidden-section').slideToggle(function() {
            var isVisible = $('.hidden-section').is(':visible');
            $('#show-more-btn').text(isVisible ? 'hide' : 'show');
        });
    });
});
</script>
Step 2: Styling the button.
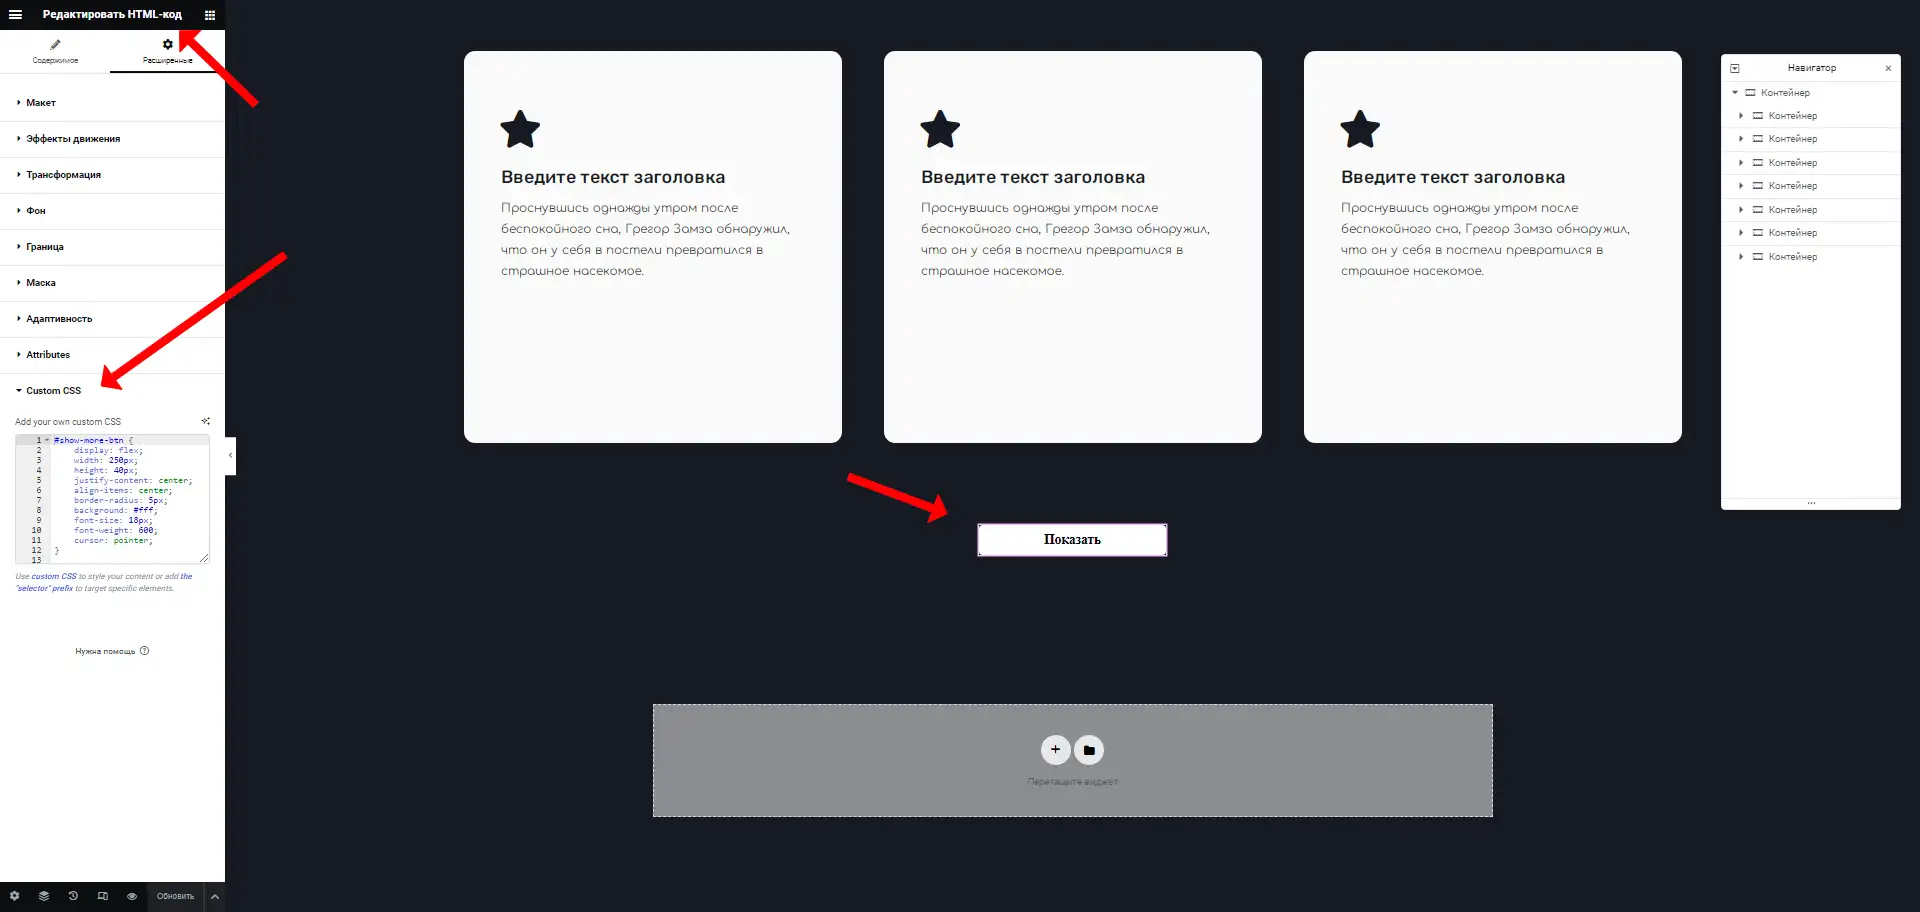
Also, to make your button look beautiful and professional, add the following CSS styles to the "Styles" or "Additional CSS" section in Elementor.
					#show-more-btn {
    display: flex;
    width: 250px;
    height: 40px;
    justify-content: center;
    align-items: center;
    border-radius: 5px;
    background: #fff;
    font-size: 18px;
    font-weight: 600;
    cursor: pointer;
}
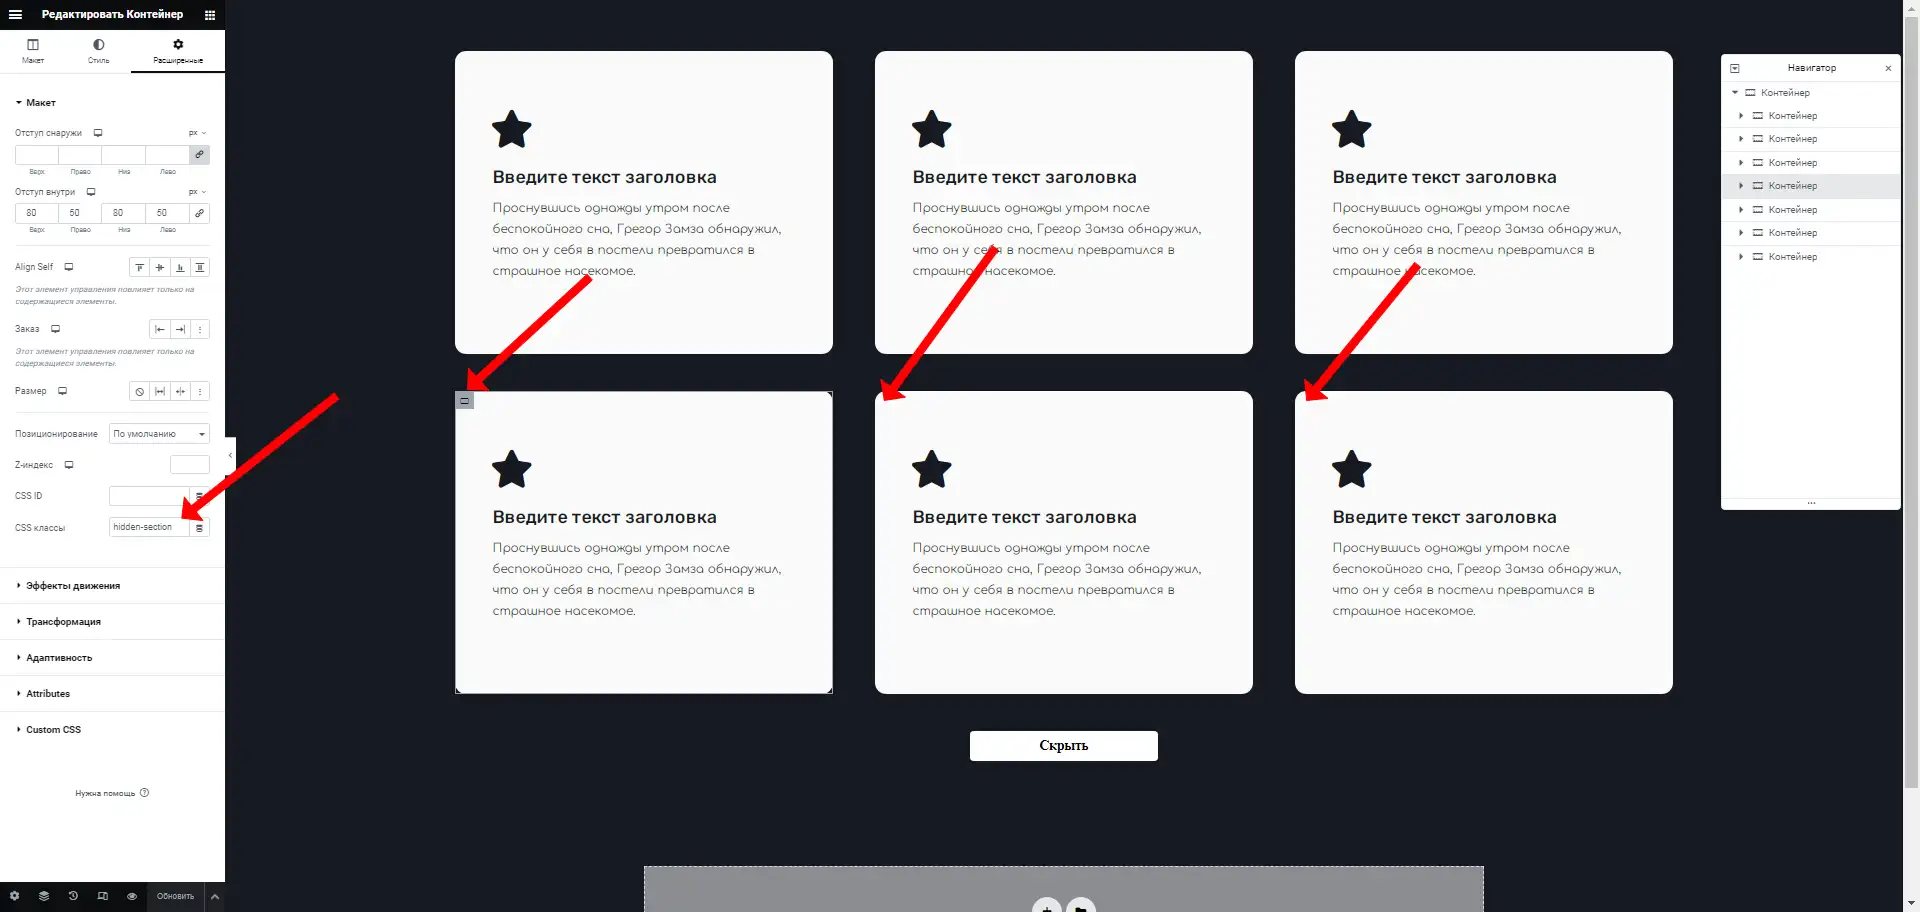
Step 3: Adding the hidden section.
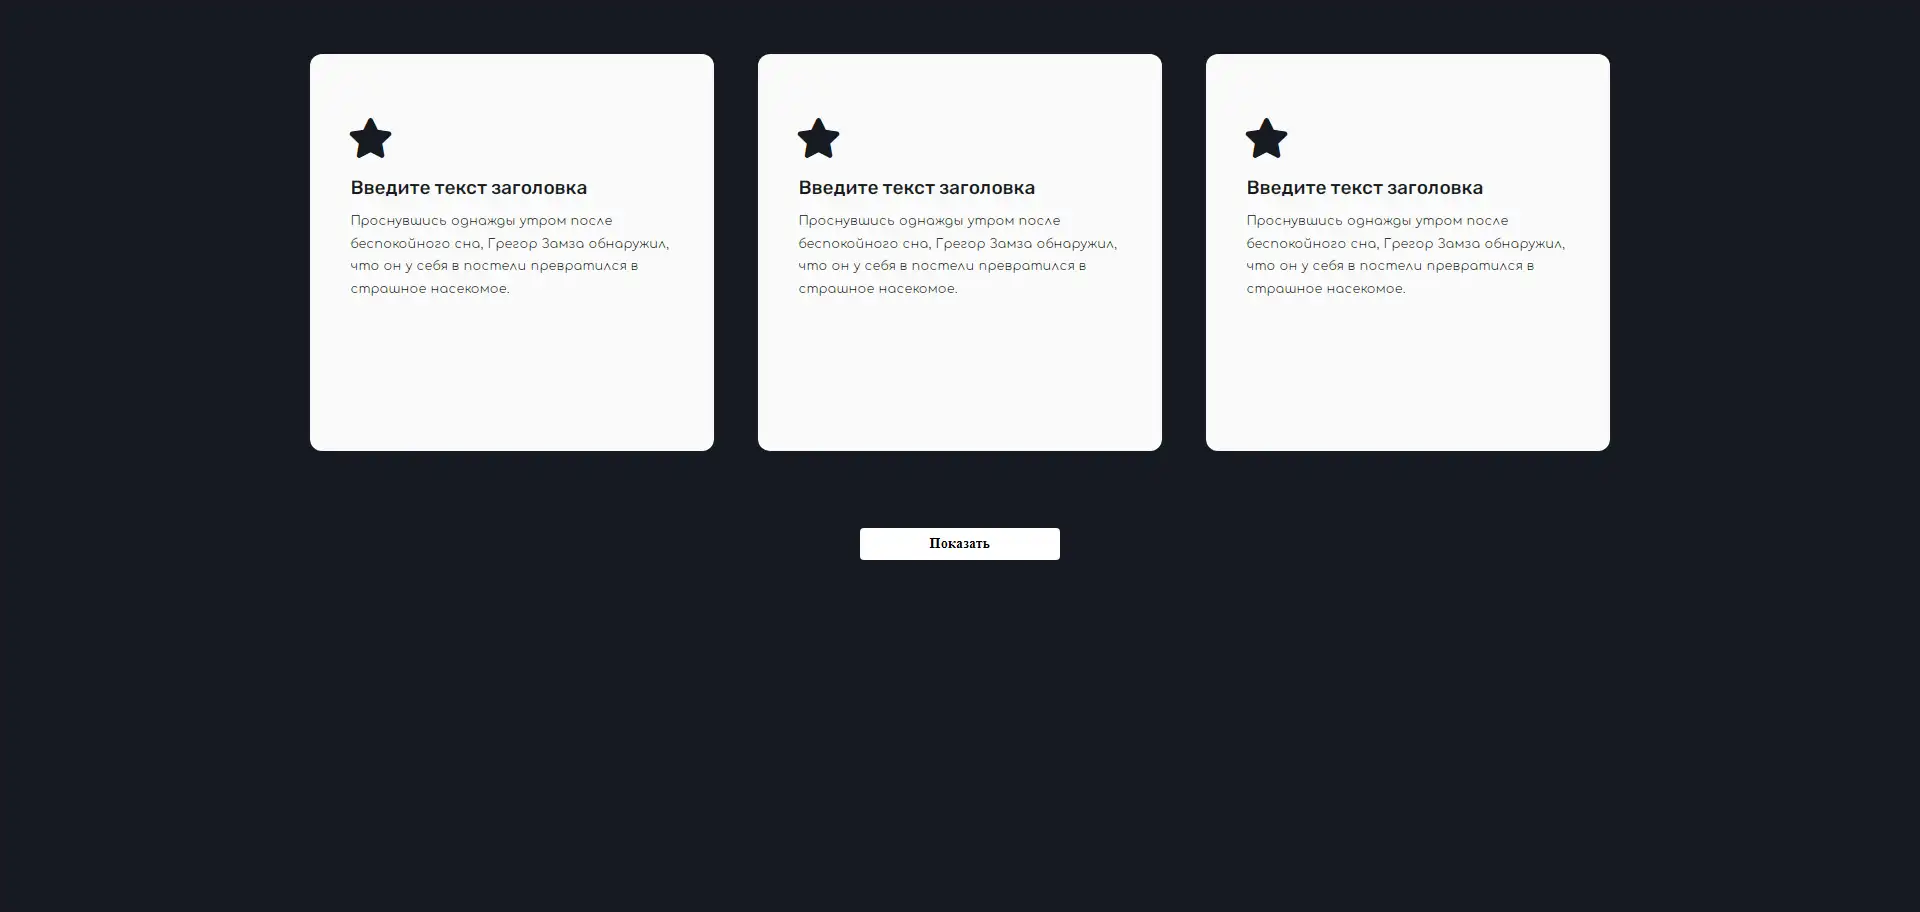
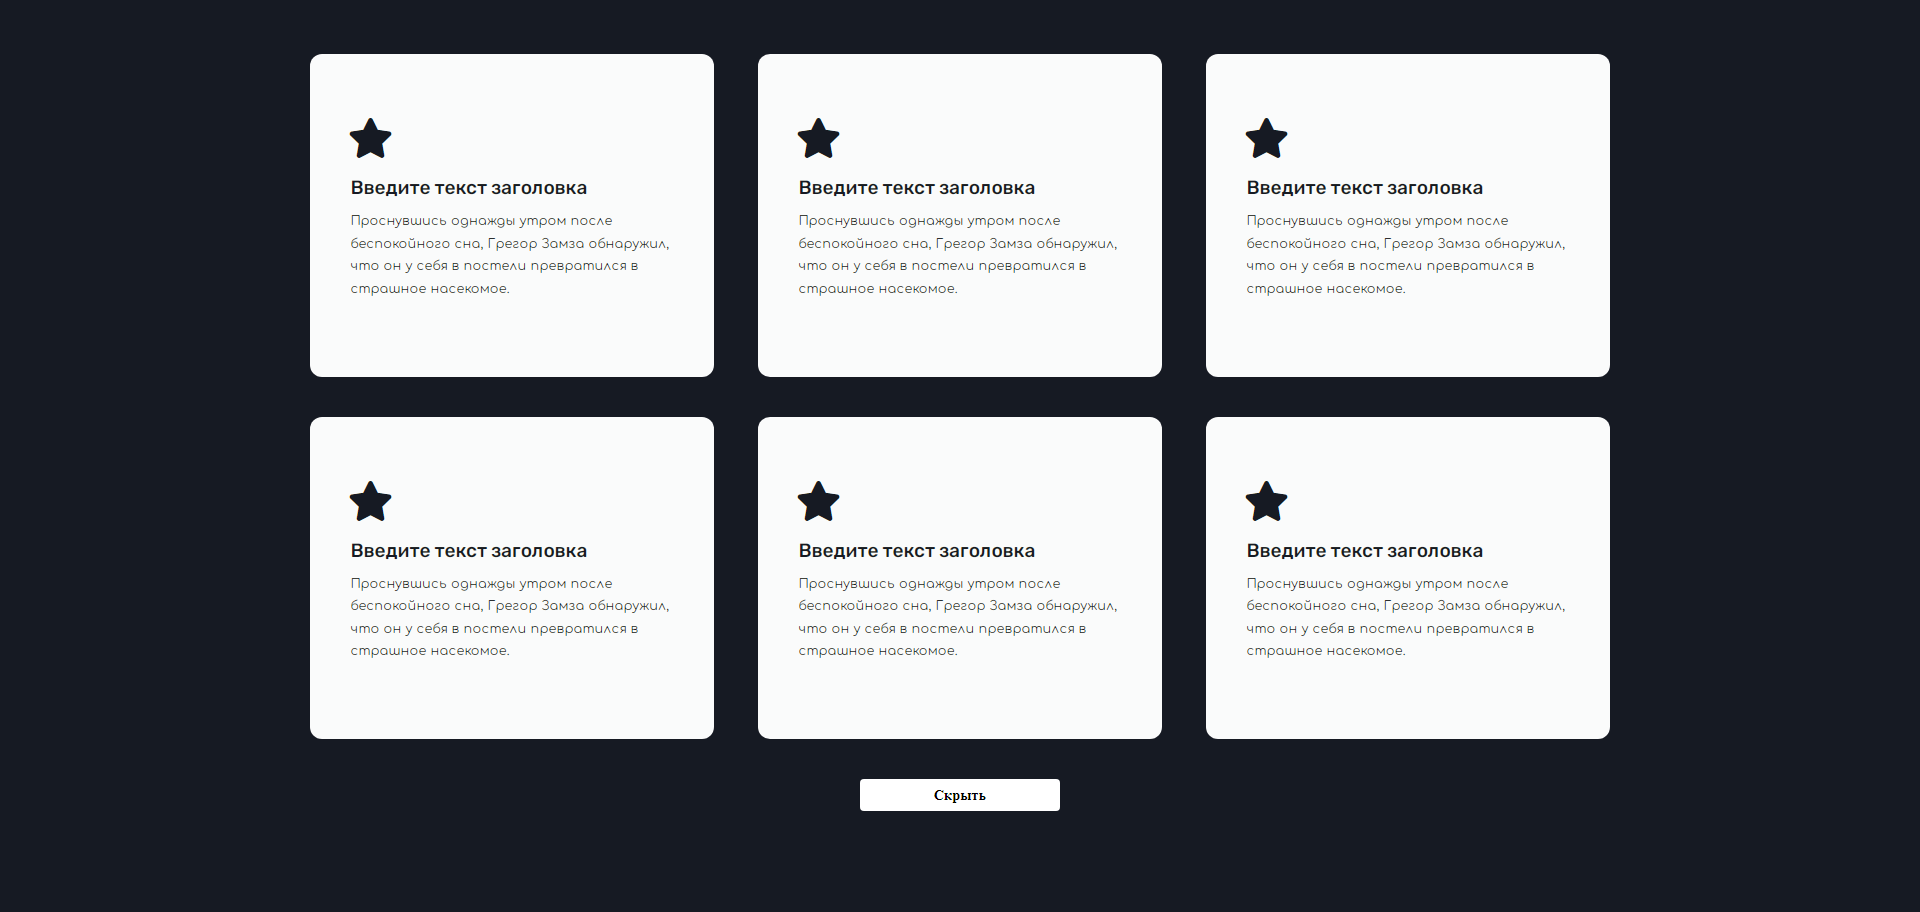
In order to actually have something to hide and show, create or select an existing section (or column) in Elementor that you want to make hidden. Add the class .hidden-section to this element. <br> Now, when you preview your page, you will see the "Показать" (Show) button. When clicked, the corresponding section will smoothly hide or show.
Conclusion.
As you can see, using simple tools like jQuery and Elementor, we can easily control the visibility of columns and their content on a page. This approach allows you to make your website more interactive and user-oriented, adding extra functionality without unnecessary hassle. This is a great example of how with minimal effort, you can achieve maximum results in web development.
701