An interactive accordion with dynamic image switching in Elementor is a great way to make your website more engaging and user-friendly. In this article, we’ll explore how to set up an accordion that displays a corresponding image when each tab is opened, using ready-made JavaScript and CSS code.
Step 1: Setting Up the Accordion in Elementor
Adding the Accordion Widget:
- Drag the «Accordion» widget onto the page in the Elementor editor.
- Configure the accordion content by adding the desired number of tabs (e.g., 4).
- Assign a title and content to each tab, for example:
- Tab 1: «Description 1» → Text or content.
- Tab 2: «Description 2» → Text or content.
- Tab 3: «Description 3» → Text or content.
- Tab 4: «Description 4» → Text or content.
Step 2: Adding Images
Creating an Image Container:
- Add a section or container next to the accordion where the images will be displayed.
- Place 4 «Image» widgets inside the container, one for each image.
- Assign a unique CSS class to each image:
- First image:
img-1 - Second image:
img-2 - Third image:
img-3 - Fourth image:
img-4
- First image:
Styling the Images:
- Use the following CSS code to hide all images by default and show only the active one:
.img-1, .img-2, .img-3, .img-4 { display: none; } .img-1.active, .img-2.active, .img-3.active, .img-4.active { display: block; } - In Elementor, add this CSS in the «Advanced» → «Custom CSS» section for the image section or in the site’s global styles.
Step 3: Adding JavaScript for Interactivity
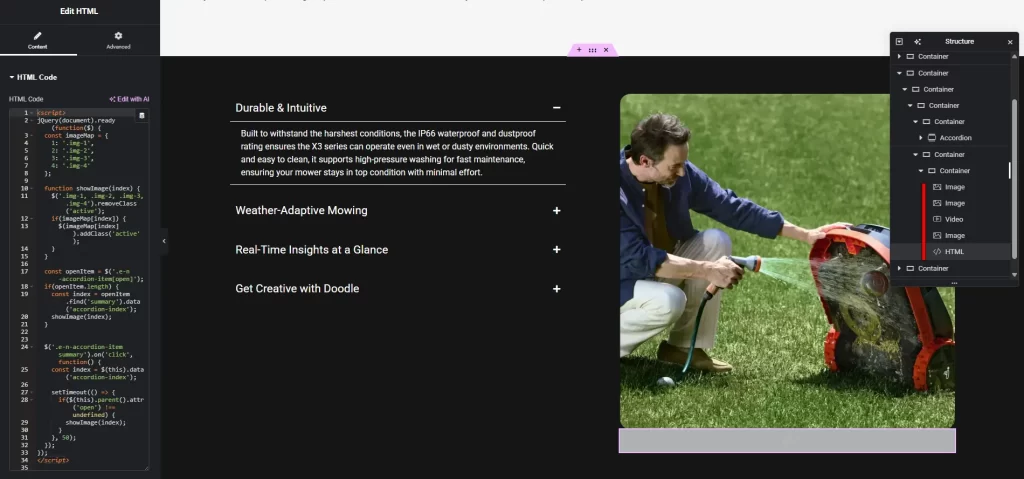
To dynamically switch images when toggling accordion tabs, use the following JavaScript code, which tracks clicks on tab headers and activates the corresponding image:
jQuery(document).ready(function($) {
  const imageMap = {
    1: '.img-1',
    2: '.img-2',
    3: '.img-3',
    4: '.img-4'
  };

  function showImage(index) {
    $('.img-1, .img-2, .img-3, .img-4').removeClass('active');
    if(imageMap[index]) {
      $(imageMap[index]).addClass('active');
    }
  }

  const openItem = $('.e-n-accordion-item[open]');
  if(openItem.length) {
    const index = openItem.find('summary').data('accordion-index');
    showImage(index);
  }

  $('.e-n-accordion-item summary').on('click', function() {
    const index = $(this).data('accordion-index');

    setTimeout(() => {
      if($(this).parent().attr('open') !== undefined) {
        showImage(index);
      }
    }, 50);
  });
});
How to Add JavaScript:
- In Elementor, add an «HTML» widget anywhere on the page.
- Insert the code above inside a
<script>tag within the HTML widget:<script> // Insert JavaScript code here </script> - Ensure jQuery is loaded (it’s included by default in WordPress and Elementor).
Step 4: Testing and Optimization
Checking Functionality:
- Save the page and open it in preview mode.
- Click the accordion tab headers to verify that images change according to the active tab.
- If a tab is open by default, the corresponding image should display on page load.
Additional Improvements:
- For smooth image transitions, add animation to the CSS:
.img-1, .img-2, .img-3, .img-4 { display: none; opacity: 0; transition: opacity 0.3s ease-in-out; } .img-1.active, .img-2.active, .img-3.active, .img-4.active { display: block; opacity: 1; } - This will ensure a smooth fade-in effect when switching images.
Useful Tips
- Image Optimization: Use WebP format or compressed JPEGs to speed up page loading.
- Responsive Design: Test the accordion and images on mobile devices. In Elementor, adjust image sizes for different screen resolutions.
Conclusion
Using the Elementor accordion widget along with the provided JavaScript and CSS code, you can create an interactive accordion that changes images when switching tabs. This solution makes your website more dynamic and enhances the user experience. Try implementing this accordion on your site and experiment with animations for an even greater effect.